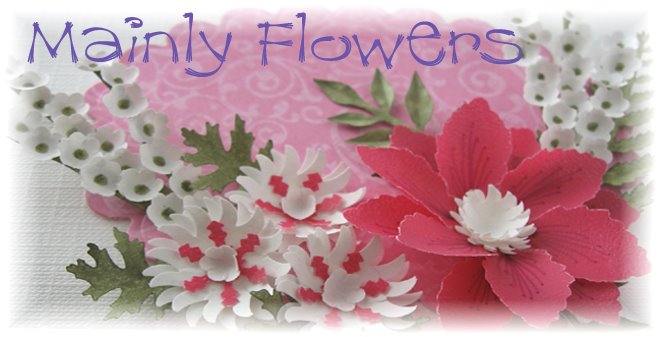
 I have had some requests for how to make the flowers on this card. At last, here it is! (The tutorial on how I made the pot is here.)
The flowers are all made in the same way. In this one I have shown the larger flower, which is made from plain card with the edges coloured with an ink pad. The smaller flowers are made from designer paper, with no colouring on the edges of the petals.
 For each flower that you want to make, you need to punch out two daisy shapes, and one Christmas Flower shape. I used the Woodware Daisy punches in the Super (blue 2") and big (yellow 1.5") sizes on my card. The Christmas Flower shape is also a Woodware punch, and is a multi - punch which punches out more than one size of the flower.
 Use the DEET to score a crease down the centre of each petal. Hold the needle end flat along the length of the petal, and whilst applying pressure, draw the needle down the length of the petal away from the centre of the flower. Do this on both of the daisy flowers.
 Hold the flower in one hand as shown, supporting the petal from underneath with your finger.
 (My other hand should be holding the ink pad - but I needed it for the camera.) Gently swipe the ink pad along the petal to colour the edges. Turn the flower for each petal in turn.
 Once all the edges are coloured, place the flower on the moulding mat, and using the large rounded end of the character shaping tool, apply pressure and 'draw' circles around the base of the petals to make the flower cup upwards.
 Place the Christmas Flower shape on the mat and, starting around the outer edges, emboss in a circular motion, gradually moving in to the centre. Start with gentle pressure, and increase it until the flower is a nice deep cup shape.
 Side view to show the three pieces after shaping.
 Place a pinhead size dot of pva in the centre of one of the daisy shapes (red arrow), and place the other one on top. Alternate the petals of the two shapes.
 Sometimes the flowers will spin around when you are trying to stick the two layers together. This is what I do to combat this. With the glued bottom layer on the work surface, and your hand resting on the table to steady it, very lightly hold the petals with your thumb and middle finger as shown - just enough to stop the flower moving. Keep your index finger free for the next step.
 Holding the second daisy by a petal with your other hand where indicated by the red dot, place it on top of the first, alternating the petals and making sure that it is central. Once you are satisfied with the arrangement, bring down the index finger of the hand holding the bottom flower (whilst still holding the top flower with the other hand at the red dot) and press in the centre to adhere firmly. It's so much easier to do this than to read the explanation!
 Hold the centre by the edge with tweezers as shown, so that the edges cup up towards you. Put very small amounts of pva all around the edges. (Don't worry about the part being held by the tweezers - there will be enough glue to stick it down.)
 Still holding the centre with the tweezers, turn it over so that it domes upwards, and gently place in the middle of the flower. Gently adjust it's position by pushing from the side with the tweezers. Once in place, resist the temptation to push it down as this will squash it. Just leave to one side until the glue is completely dry before handling the flower.
 If you find that putting the centre in like this is too difficult for you. Then glue it in the other way around as above so that it cups upwards - much easier, and still looks good!


