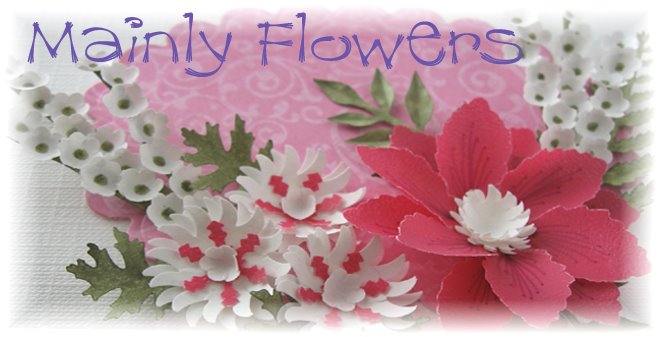
 Here's the promised flower tutorial for the flower on this card. Click on any of the pictures for a closer look.
 Using the Stampin' Up! Scallop Circle Punch, punch out two shapes in white. Using the Boho Blossoms Punch punch out the largest flower shape in green, and the smallest one in white. Using a piece of cut and dry foam pressed onto an ink pad, sponge some colour around the edges of all the pieces.
 Mark a dot in the centre of each of the four shapes. Cut each shape between the scallops towards the centre as shown. Don't go all the way to the centre, and make sure you don't make the petals too narrow at the base.
 On the two large scallop circle shapes, go around again, this time cutting each petal in half towards the centre. Again, don't cut too far in. The scallop circle on the top left shows how it looks after the first round of cutting, and the one on the right after the second round.
 These two pieces show the difference between sponging the shape after cutting the petals (left) or before cutting them (right). On my card in the link above, the pieces were sponged after cutting.
 Using a character shaping tool (see tool substitutes tab at the top of my blog), apply pressure in circular movements at the base of the petals to cup the flower up a little. Do this on all of the pieces. You'll need to use a smaller embossing tool for the smaller pieces.
 Here is how they look after they've all been shaped.
 Using a pinhead spot of pva in the centre of the shapes, glue all of the pieces together as shown. Alternate the two larger pieces so that the scallops of one layer sit between those of the one below.
 The centre of the flower can be finished off in whichever way you prefer - a brad, pearl, gem - or a 1/4" circle shaped with an embossing tool to dome it up as here.
Place a small blob of pva in the centre of the flower, and place the shaped circle, dome upwards, on top of the glue. Gently touch it on the top to settle in to place, and leave to dry. You need just enough glue to touch the underside of the domed circle, but not too much or it will squelch out from underneath. Practice will teach you how much is too much - as I can testify!
Once finished, and the glue dry, you will need to fluff up the petals of the flower to separate out the two layers.

Here is the same flower finished with a pearl from the Pretties Kit instead.

Thanks for the tutorial on the pumpkin flower and also for the pot with flowers. I have made a few of the flowerpot cards but none were as nice as yours! Can you do a tutorial on the wonderful flowers you used in the pot card? I love them. I think the pumpkin flower would work too, but I really am over the moon about the ones you have in the pot! Thanks again for all you do for us!
ReplyDeletetonilea
JoAnne - I love these flowers! They are so pretty and thank you so much for sharing your tutorial. I will have to get some punches and try these out! Renee
ReplyDeletehello
ReplyDeletethank you for your tutorial
i trie to do it, but as i don't speak well your language, i don't do exactly as you
have a nice day
Brilliant, pretty cards. Thank you for sharing your talents.
ReplyDeleteTheresa